Using Folders to Organize Sprites
-
When your project contains many sprites, you can use the “folder” tool to organize them. Here is how:
Create an empty folder
You can mouse over the add sprite button, and then select the “New Folder” button:

A new empty folder will be added: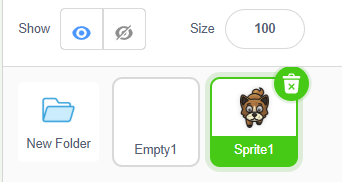
Enter and Exit a Folder
When you click on the new folder, you will “enter” it. Since it is empty, you will only see a “go up” icon. When you click on it, you will go back up to the starting level (the root level).
Moving sprites into and out of a folder
To move a sprite into a folder, you simply need to drag the sprite and drop it over the folder. The folder will be entered right away so you can make sure the sprite is inside it. Also, click “go up” to go out of the folder, and you will see the sprite is not at the top level anymore.
To move a sprite out of a folder, you can drag it onto the “go up” icon. After that, go out of the folder to check that the sprite has moved there:
Folder Operations
When you right-click on a folder, you will get a menu of 4 choices:
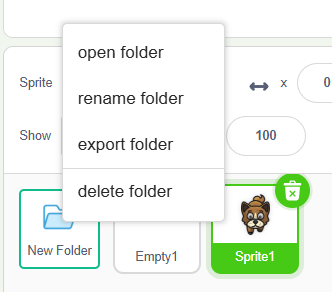
The Open Folder option is the same as clicking the folder to enter it. The Delete Folder option allows you to delete this folder and all its content.
We’ll discuss the other 2 options in more detail below.
Renaming a Folder
When you choose to rename a folder, an input box will pop up for you to enter a new name:
Export and Import a Folder
You can export an entire folder to a file, including all the sprites in it. The file will have the same name as the folder, and its type will be “folder3”. So if the folder is named “assets”, then the downloaded file will be named “assets.folder3”.
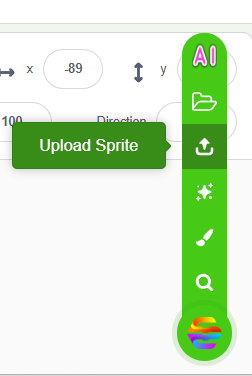
You can also import a folder file into a new project. You can reuse the “upload sprite” button, and select the “folder3” file you downloaded before: